Set realistic targets
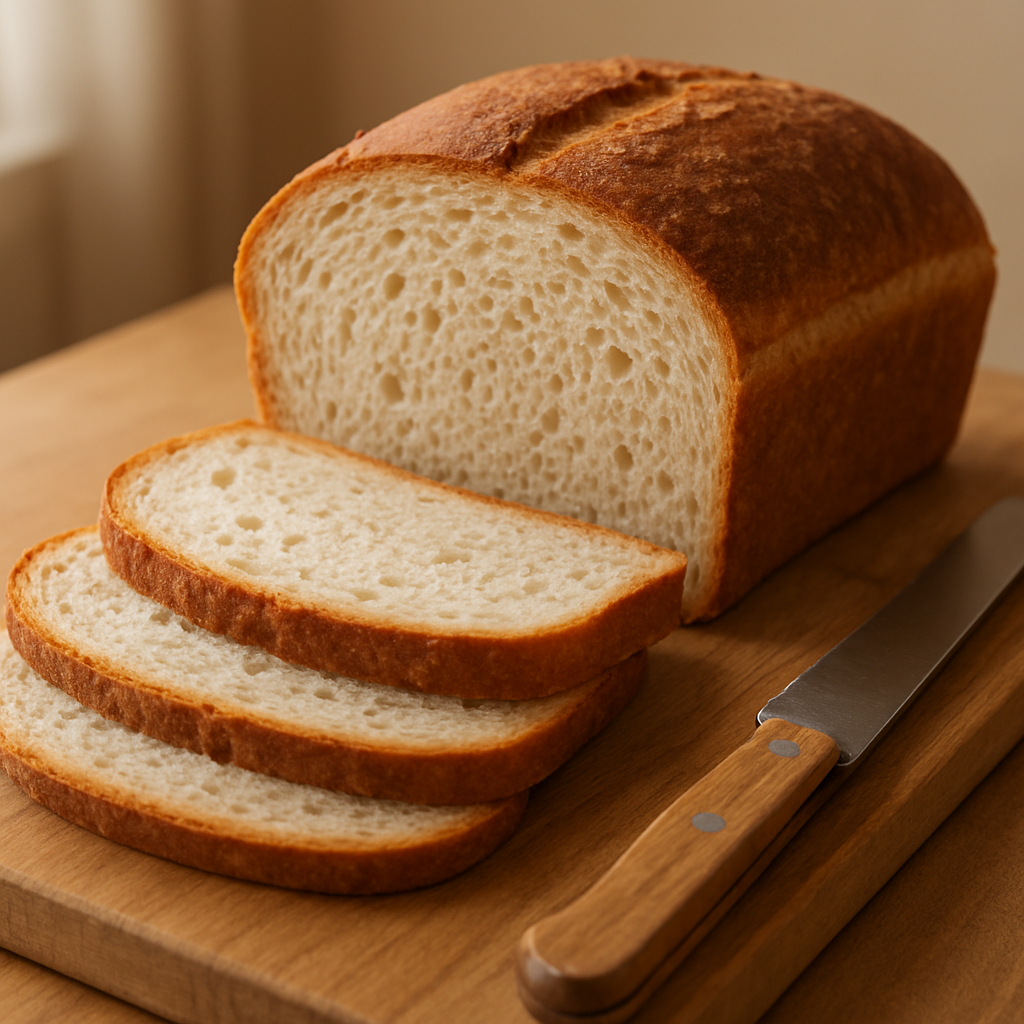
High hydration can produce stunning crumb, but only when structure is protected at every stage. Start where your handling is consistent, then increase gradually.
Strong flour and controlled water addition matter more than chasing impressive percentages.
Most bakers remember one frustrating loaf that looked promising until the final step collapsed. In nearly every case, the turning point happened here. Slow down, watch texture and movement, and avoid heroic last-minute fixes. This stage rewards consistency more than creativity, and that is excellent news because consistency is trainable.
Practical routine: set a 30-minute interval timer, then capture three notes at each checkpoint. Record room temperature, dough temperature, and one texture cue such as smoothness, stickiness, or bounce. This takes less than a minute and turns guesswork into a timeline you can compare across bakes.
When this stage clicks, the rest of the bake day feels lighter. You are no longer reacting to surprises; you are guiding outcomes. That shift from reactive to intentional baking is where confidence is built, and it shows up in the crumb as much as in your workflow.
Finish with a one-line decision log that includes why you moved on when you did. On your next bake, compare that decision to the final loaf quality. Over a few bakes, this creates a practical feedback loop you can trust.
For High Hydration Doughs, the set realistic targets phase is where confidence is earned through repeatable decisions. Work with intentional pacing: observe, choose one adjustment, and give it time to show a result. If you keep clean notes on what changed and why, your next bake starts with evidence instead of guesswork, and that is usually the difference between random success and reliable outcomes.
Flour strength
Use flour that can support higher water loads without turning to soup.
Protein percentage is only one factor. Absorption behavior matters too.
This is one of those moments where the dough gives honest feedback. If it tears, tightens, or loses shape too quickly, treat that as information and adjust gradually instead of pushing through.
A practical checkpoint is to take a quick photo and a short note at the start and end of this sub-step. Visual comparison over time will reveal progress that is hard to notice in the moment, especially when bake days are spread across weeks.
During flour strength, focus on deliberate technique over speed. A controlled motion, a short pause, and a quick check of dough response will usually teach you more than pushing forward fast. Treat this as a skill rehearsal, and the payoff shows up later in cleaner structure, more predictable fermentation, and stronger final oven spring.
Water strategy
Bassinage, or adding some water later, improves control during mixing.
It lets you feel when the dough can actually hold more hydration.
In practice, this sub-step is where many bakers either gain control or lose momentum. It helps to slow your hands down and read the dough deliberately. Clean, repeatable motions beat force every time.
Concrete adjustment plan: keep one variable fixed for two consecutive bakes, then tune only one setting at a time. Useful candidates are hydration by 1 to 2 percent, rest windows by 10 to 15 minutes, or proof temperature by 1 to 2 degrees. Small moves are easier to evaluate accurately.
During water strategy, focus on deliberate technique over speed. A controlled motion, a short pause, and a quick check of dough response will usually teach you more than pushing forward fast. Treat this as a skill rehearsal, and the payoff shows up later in cleaner structure, more predictable fermentation, and stronger final oven spring.
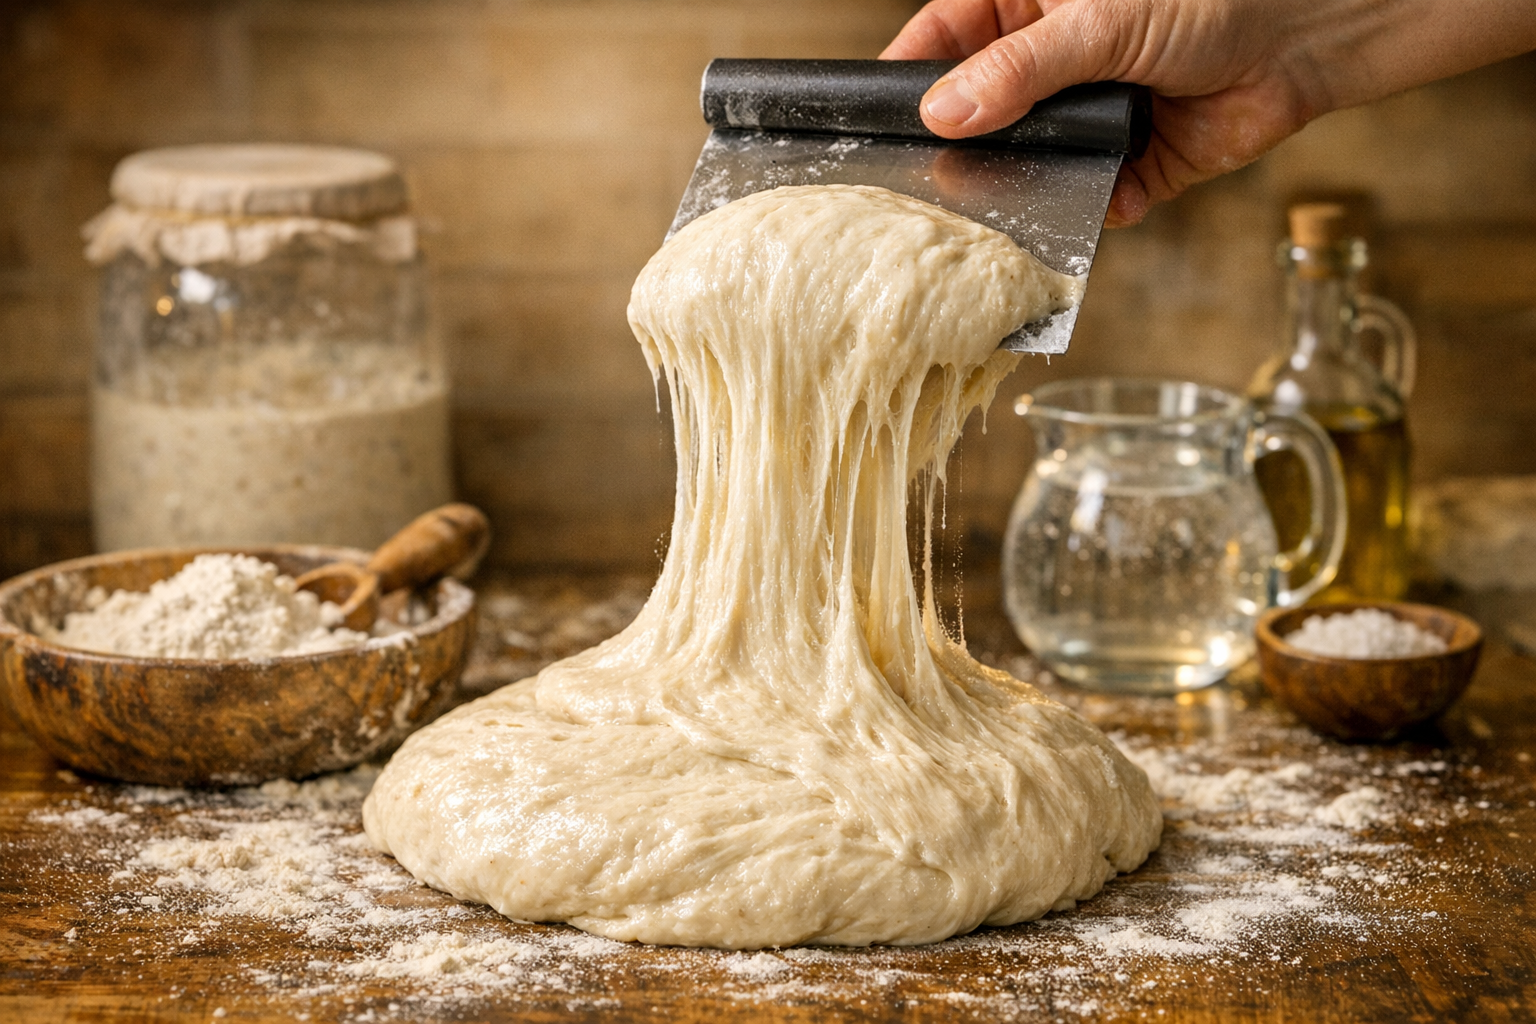
Handle with intent
With wetter dough, speed and decisiveness become more important than force. Use wet hands, clean tools, and short confident movements.
Cold proofing firms high hydration dough and gives cleaner scoring next day.
If this step feels unpredictable, you are not doing anything wrong. It simply has more moving parts than it appears at first glance. Think of it as an interview with your dough: you ask questions through touch, tension, and timing, and the dough answers through resistance, elasticity, and gas retention.
Use a short control loop to keep decisions clean: observe, adjust one variable, and wait one interval before adjusting again. For most kitchens, that interval is 20 to 30 minutes. Rapid stacked changes make troubleshooting harder because you will not know which adjustment actually helped.
A reliable pattern many home bakers use is to treat the first attempt as a calibration bake. They do not chase perfection. They focus on readable signals and clean notes. By the second or third bake, small improvements stack: cleaner shaping, better spring, and far less second-guessing.
Before moving forward, do a quick debrief: what cue looked strongest, what cue appeared late, and what you would change by plus or minus 15 minutes next time. These tiny post-step notes make future decisions faster and more accurate than relying on memory alone.
For High Hydration Doughs, the handle with intent phase is where confidence is earned through repeatable decisions. Work with intentional pacing: observe, choose one adjustment, and give it time to show a result. If you keep clean notes on what changed and why, your next bake starts with evidence instead of guesswork, and that is usually the difference between random success and reliable outcomes.
Coil folds
Coil folds build strength gently and are easier to execute cleanly on wet dough.
Give rest between folds so the network can set.
This is one of those moments where the dough gives honest feedback. If it tears, tightens, or loses shape too quickly, treat that as information and adjust gradually instead of pushing through.
A practical checkpoint is to take a quick photo and a short note at the start and end of this sub-step. Visual comparison over time will reveal progress that is hard to notice in the moment, especially when bake days are spread across weeks.
During coil folds, focus on deliberate technique over speed. A controlled motion, a short pause, and a quick check of dough response will usually teach you more than pushing forward fast. Treat this as a skill rehearsal, and the payoff shows up later in cleaner structure, more predictable fermentation, and stronger final oven spring.
Shaping workflow
Use a scraper, dust strategically, and shape in fewer deliberate moves.
Hesitation increases sticking and degassing.
This is one of those moments where the dough gives honest feedback. If it tears, tightens, or loses shape too quickly, treat that as information and adjust gradually instead of pushing through.
A practical checkpoint is to take a quick photo and a short note at the start and end of this sub-step. Visual comparison over time will reveal progress that is hard to notice in the moment, especially when bake days are spread across weeks.
During shaping workflow, focus on deliberate technique over speed. A controlled motion, a short pause, and a quick check of dough response will usually teach you more than pushing forward fast. Treat this as a skill rehearsal, and the payoff shows up later in cleaner structure, more predictable fermentation, and stronger final oven spring.
Join hundreds of other bakers now
Keep your starter, recipes, and bake journal in one place.
Download Kneadly